Free Alternative to Snagit: The Best No-Cost Screenshot Tools
Taking a good screenshot sounds simple until you need to do it every day. A quick capture for a colleague, a step-by-step guide for a friend, or a bug report for support all ask for something slightly different. When a paid tool is out of reach, it is natural to look for a free alternative to Snagit that still feels reliable and easy to use.
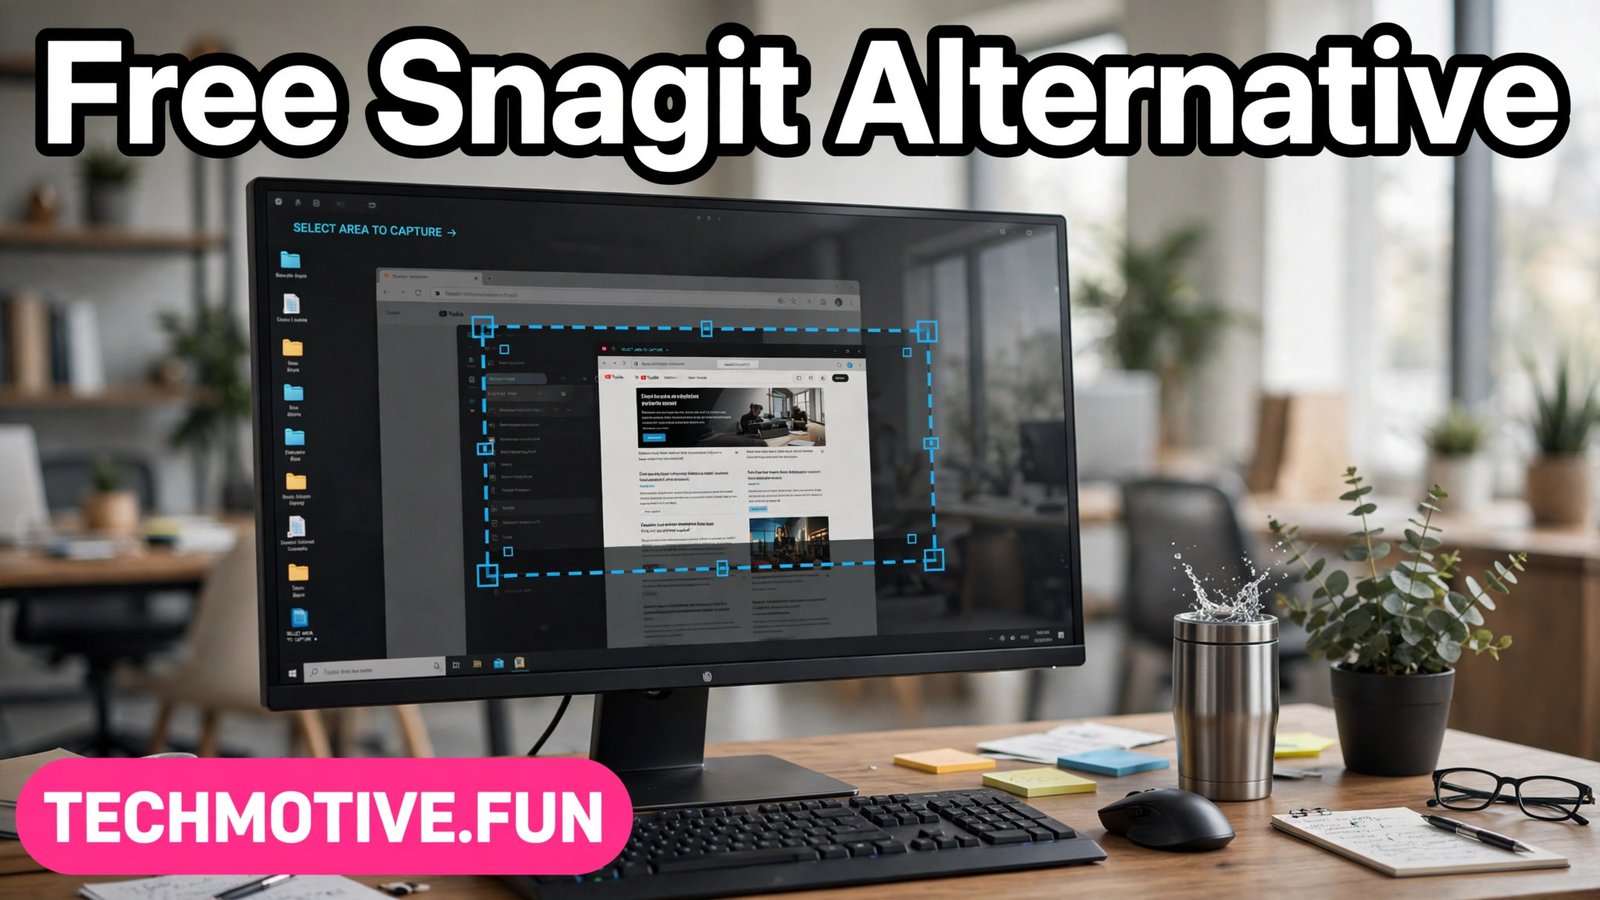
The good news is that you do not need to settle for a single replacement. Windows already includes capture tools, and several free programs cover the gaps those built-in tools leave behind. The trick is to match the tool to the job rather than hunting for one perfect program that does everything.
This guide walks through what actually matters in a screenshot tool, what the built-in options can and cannot do, and how to choose a free option with confidence. It keeps the advice practical, avoids hype, and flags the one privacy point that many people overlook when they share captures online.
What to Look for in a Screenshot Tool
Start with how you take screenshots, not with a list of programs. Some people only need a full-screen capture now and then. Others capture a small region dozens of times a day, or need to mark up an image before sending it. Those are very different jobs, and the right tool depends on which one describes you.
Speed matters more than most people expect. A tool that opens slowly, hides its capture shortcut, or forces several clicks before you can select an area will quietly discourage you from using it. Look for a clear keyboard shortcut, a simple selection mode, and a save or copy step that does not get in your way.
Editing matters too, but only up to a point. Basic annotation — arrows, boxes, highlights, and short text labels — covers most everyday needs. If you often write guides, you will value those tools far more than filters or fancy effects. If you only share raw captures, a simpler tool may suit you better.
Think about where your images end up. Some tools save straight to a folder on your computer. Others copy to the clipboard, open an editor, or offer an upload option. A local save keeps things simple and private, while an upload option can be handy when you need a shareable link in a hurry. Decide which default you prefer before you commit to a tool.
Built-In Windows Options Worth Trying First
Before installing anything new, it is worth spending a few minutes with the tools Windows already provides. For many people, these are enough, and they have the advantage of needing no download, no setup, and no extra program running in the background.
The Snipping Tool is the most obvious starting point. It lets you capture a rectangle, a freeform shape, a window, or the full screen, and it opens the result in a simple editor where you can draw, highlight, and crop. If your needs are modest, this combination of capture and light editing is often all you need.
The Print Screen key and its shortcuts offer a faster path when you do not need an editor at all. A full-screen capture can be copied to the clipboard and pasted into a document, chat window, or image editor. A window capture works the same way for a single application. This approach is quick, but it leaves organizing and naming your files up to you.
The main limits of the built-in tools are easy to describe. Scrolling capture, which grabs a long page in one tall image, is not their strength. Advanced annotation, automatic naming, and capture histories are also limited. If you hit those limits regularly, that is the point at which a dedicated free tool starts to make sense.
Free Tools That Cover the Gaps
Dedicated free screenshot programs exist because everyday capture needs go beyond a simple rectangle. Two long-running examples are often mentioned in this context, and both are best understood in general terms rather than as a checklist of features.
ShareX is a free, open-source capture program for Windows that many regular users turn to when they want more control. It supports region capture, window capture, and full-screen capture, and it includes an editor for basic annotation. People who capture often tend to appreciate its workflow options, such as choosing what happens after a capture — whether the image is saved, copied, or opened for editing. Its settings take a little time to explore, but that flexibility is exactly why it appeals to people who take screenshots all day.
Greenshot is another free, open-source option that takes a lighter approach. It focuses on quick region, window, and full-screen captures, followed by simple annotation and a straightforward save or export step. If you like the idea of a tool that stays quiet until you need it, and you do not want to spend long in settings screens, this style of program is worth trying. It suits people who want a small improvement over the built-in tools without a steep learning curve.
Neither program should be described as a clone of a paid tool. They solve similar problems — capturing, annotating, and sharing screen images — but they have their own designs, workflows, and trade-offs. Trying one for a few days of real work tells you more than any comparison table, because the best tool is the one whose shortcuts and defaults feel natural to you.
For readers exploring other kinds of free software, the same careful approach applies. A guide to a free alternative to Camtasia follows a similar pattern: start with your actual task, then match the tool to it rather than chasing every feature at once.
Scrolling Capture: When One Tall Image Helps
A scrolling capture grabs a long web page, document, or chat thread as a single tall image. It is useful when you want to show a full process, a long conversation, or a page layout without stitching several screenshots together by hand.
Not every tool handles scrolling capture well, and results can vary with the application you are capturing. A web browser page usually works more smoothly than a program with a custom scroll area. If scrolling capture matters to you, test it on the exact kind of page you capture most, rather than assuming it will work everywhere.
It is also worth asking whether you truly need a scrolling image. Sometimes a short series of regular screenshots, each with a clear label, is easier for the reader to follow, especially on a phone screen. For guides and bug reports, clarity should win over completeness.
Annotation That Actually Helps the Reader
Annotation is where a plain screenshot becomes useful guidance. A well-placed arrow or box tells the reader exactly where to look, while an unmarked image can leave them searching the whole screen for the relevant detail. The goal is to guide attention, not to decorate the image.
Keep annotation simple. One or two marks per image are usually enough. A box around the button to click, an arrow pointing to the setting to change, and a short label explaining the step will carry most instructions. Adding many colors, shapes, and notes at once tends to make the image harder to read, not clearer.
Finally, blur or cover anything private before you share. Names, email addresses, account details, and personal messages often appear in screenshots by accident. A quick check for sensitive information should become part of your routine, just like checking spelling in a message before you send it.
A Short Note on Screen Recording
Screenshot tools and screen recorders overlap, but they are not the same job. A screenshot freezes a moment; a recording shows a process over time. Some free capture programs include basic recording, while others focus purely on still images.
If you only need the occasional short clip, a built-in recorder or a simple free recorder may be enough. If you record tutorials regularly, you will want a dedicated tool with proper editing and export options. Either way, keep the two needs separate in your mind: a great screenshot tool does not have to be a great recorder, and a recorder with a weak capture mode may still be fine if you rarely take stills.
Readers who need a fuller recording workflow can look at a free alternative to Illustrator comparison only as a reminder of the same principle — different creative tasks call for different tools, and one program rarely serves every purpose well. The same holds for capture: choose the recorder, if you need one, on its own merits.
Choosing by Need, Not by Hype
The simplest way to choose is to describe your most common screenshot task in one sentence. That sentence points to the tool you actually need.
If your sentence is “I grab a quick region and paste it into chat,” a light tool with a fast shortcut and clipboard support will serve you well. You do not need scrolling capture, deep settings, or a large editor. Speed and simplicity are the whole job.
If your sentence is “I write step-by-step guides with marked-up images,” look for solid annotation, easy saving with sensible file names, and a workflow that does not interrupt you after every capture. You will spend more time in the editor, so its comfort matters.
If your sentence is “I capture long pages and share them as single images,” scrolling capture becomes the deciding factor. Test it on your real pages, and be honest about whether tall images actually help your readers or just feel impressive to create.
If your sentence is “I take captures all day for support tickets,” reliability and automation matter most. A tool that saves consistently, names files clearly, and stays out of your way will save more time than any single extra feature.
For anyone building a small free-software toolkit, this step-by-step approach pays off across categories. A beginner-friendly guide such as a free alternative to Photoshop for beginners makes the same point in a different area: start simple, learn the basics, and add complexity only when your work asks for it.
Privacy Caution: Think Before You Upload
Many capture tools offer to upload an image and give you a link. That can be convenient, but it deserves a moment of thought before you use it for anything sensitive. An uploaded image lives on someone else’s server, and its visibility depends on that service’s settings and policies.
As a rule, keep private or work-related captures local unless you have a clear reason to share them. Save to your own computer, share through your usual work channels, and use upload links mainly for public or low-sensitivity images. This habit protects you even if you later forget where an image was posted.
The same caution applies to cloud clipboard or history features. A capture history that syncs across devices can be handy, but it also means your images travel beyond one computer. If you work with sensitive material, keep that kind of syncing switched off, or review what it stores before you rely on it.
Frequently Asked Questions
Do I need to install anything to take screenshots on Windows?
No. Windows includes built-in capture tools that cover full-screen, window, and region captures, plus basic editing. Many people find those tools sufficient for everyday use, and installing a dedicated program only becomes worthwhile when you regularly need features such as scrolling capture or more flexible annotation.
Is a free screenshot tool good enough for work guides?
For most guides, yes. Clear captures, simple annotation, and consistent saving matter far more than advanced effects. If your guides rely on arrows, boxes, and short labels, a free tool with a comfortable editor will usually meet the need. Test it on a real guide before deciding, since your workflow is the best judge.
What is scrolling capture, and do I need it?
Scrolling capture turns a long page into a single tall image. It helps when you want to show a full page or conversation at once. You may not need it if a few well-labeled screenshots explain the steps more clearly, especially for readers on small screens. Try both approaches and see which one your readers find easier to follow.
Should I worry about uploading screenshots to the cloud?
It depends on the content. Public or low-sensitivity images are usually fine to share via a link. Private, work-related, or personal images are safer kept local and shared through your normal channels. Check your tool’s default save and upload settings, and choose uploads deliberately rather than letting them happen automatically.
Can I use more than one screenshot tool?
Yes, and many people do. You might use a built-in tool for quick captures and a dedicated program for guides that need annotation or scrolling capture. Using two tools is fine as long as you know which one to reach for in each situation, and you keep your saved images organized in a consistent way.
Conclusion
Finding a free alternative to Snagit is less about finding one perfect program and more about matching a tool to the way you actually work. Start with the built-in Windows options, since they may already cover your needs. If you hit their limits, try a free dedicated program, use it for real tasks for a few days, and judge it by speed, annotation comfort, and sensible saving rather than by a long list of features.
Keep annotation simple, check your images for private details before sharing, and stay deliberate about uploads. Those habits matter more than any single tool, and they will serve you well whatever program you choose. With the right fit and a little routine, free capture tools can handle everyday screenshots, guides, and bug reports with confidence and without cost.