
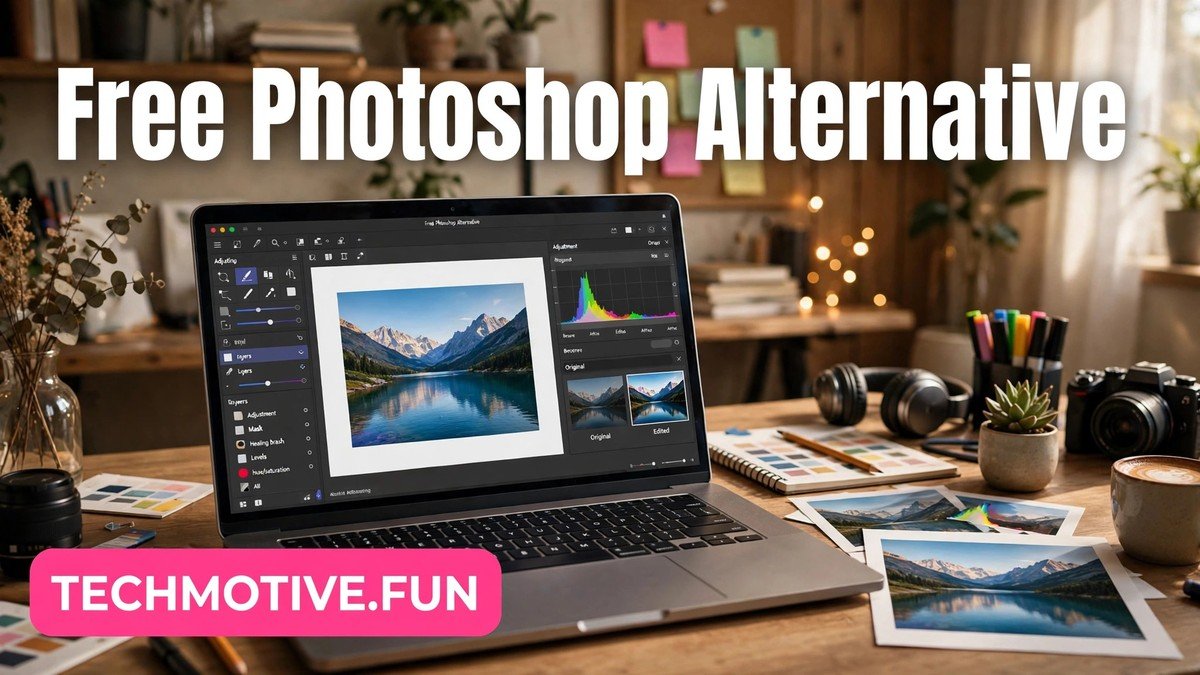
Free Alternative to Photoshop for Beginners: The Best Options
Photoshop is the name everyone knows when photo editing comes up, but it is not the only way to edit pictures well. If you are just starting out, or you only edit photos now and then, a paid subscription can feel like a lot for something you use occasionally. The good news is that several genuinely free tools can handle everyday editing comfortably, and some of them go much further than basic touch-ups.
The trick is picking the right one. A free alternative to Photoshop for beginners should be easy to learn, forgiving when you make mistakes, and capable of the edits you actually do — not just impressive on a feature list. In this guide, we compare the main types of free editors, explain what each is best for, and help you choose without wasting an afternoon installing everything.
What “Free” Really Means Here
Not every tool that calls itself free works the same way. Some are completely free and open source, maintained by volunteers and communities. Others are free to use in a browser, sometimes with optional paid upgrades for extra storage or advanced features. A few are free only for a trial period, and those do not count here.
Before you settle on a tool, check whether the free version covers what you need. If you only crop, resize, and adjust brightness, almost any free editor will do. If you want layers, masks, or detailed retouching, you need something more capable. It is better to find this out in five minutes of reading than after you have already started a project.
Also keep in mind that free tools are not Photoshop clones. They may look different, use different names for familiar features, and handle some file formats differently. That is normal, and it does not make them bad. It just means you should judge them on what they do, not on how closely they copy something else.
Start With What You Actually Edit
Beginners often choose a tool based on reputation rather than their own needs, and that is where frustration starts. Take a moment to think about your typical edits.
If you mostly fix phone photos — straightening a horizon, brightening a dark room, removing a stray object — a simple editor is plenty. A browser-based tool can do all of this without any installation, and you can finish an edit in minutes.
If you make social media graphics, posters, or simple designs, you want layers and text tools. Layers let you stack images and text separately, so you can move one element without disturbing the rest. This is the single feature that separates a basic editor from a serious one.
If you want to learn real photo editing skills over time, choose a tool with room to grow. A slightly steeper learning curve now can save you from switching tools later, when your projects get more ambitious.
Knowing your use case narrows the field fast, and it stops you from paying — in time or money — for power you will never use.
Browser-Based Editors: The Easiest Starting Point
Browser-based photo editors run entirely on a website. You open them, upload a photo, edit it, and download the result. Nothing to install, and they work on almost any computer.
Their biggest strength is convenience. You can edit on a borrowed laptop, a library computer, or a Chromebook without worrying about system requirements. Most of them are designed for casual users, so the interface is friendly: sliders for brightness and contrast, one-click filters, and simple crop and resize tools.
The trade-offs are worth knowing. Because everything happens online, you need a decent internet connection, and very large files can be slow to upload and process. Some browser editors also limit export quality or file formats in their free tier, so check that before starting an important project. Privacy is another small consideration: your photos pass through someone else’s servers, so avoid uploading sensitive images to any online editor you have not checked.
For quick edits, social media posts, and learning the basics, a browser editor is often the best first step. You can always move to a desktop tool later if you outgrow it.
Desktop Editors: More Power, More Control
Desktop photo editors install on your computer and run offline. The most capable free ones are open-source projects that have been developed for years, and they offer features that come close to professional software: layers, masks, selection tools, brushes, and support for common formats like JPEG, PNG, and TIFF.
The advantage is control. Your files stay on your own machine, large images load faster, and you are not limited by a browser tab or an internet connection. If you edit regularly, or you work with high-resolution photos, a desktop editor is usually the better long-term choice.
The cost is a learning curve. A powerful editor has more buttons, menus, and panels, and the first hour can feel overwhelming. That is normal. Start with the basics — crop, exposure, and colour adjustments — and add one new skill at a time. Most capable free editors have large communities, tutorials, and forums, so help is easy to find when you get stuck.
If you are willing to invest a little learning time, a desktop editor gives you the most room to grow without spending anything.
Comparing the Main Options at a Glance
Rather than ranking tools from best to worst, it helps to match each type to a user.
A simple browser editor suits someone who edits occasionally and values speed over depth. You open it, fix the photo, and move on. It is ideal for quick social media posts, resizing images for a website, or touching up holiday photos.
A mid-level editor — whether browser-based or desktop — suits someone who makes graphics, designs, or layered images. You get layers, text, and more precise selection tools, but the interface stays approachable. This is the sweet spot for most beginners who want to do more than basic fixes.
A full-featured desktop editor suits someone who wants to learn photo editing properly. It takes longer to learn, but it handles advanced retouching, complex compositions, and detailed colour work. If you think you might still be editing photos in a year, this is where you will probably end up.
There is no wrong answer here. Many people use two tools: a quick browser editor for everyday fixes, and a powerful desktop editor for bigger projects. Using more than one tool is not cheating; it is practical.
File Formats: What to Watch Out For
File formats cause more beginner confusion than almost anything else, so here is the short version.
JPEG is the standard for finished photos. It keeps files small but loses a little quality every time you save, so keep an original copy and only save a JPEG at the end.
PNG is better for graphics, logos, and anything with text, because it preserves sharp edges and supports transparency. Its files are larger, but quality stays intact.
TIFF and similar formats are used for high-quality archival work. They preserve detail but produce large files, and not every editor or website supports them.
One important warning: Photoshop’s native PSD format is not fully supported everywhere. Some free editors can open PSD files, but layers or effects may not carry over perfectly. If you plan to share work with Photoshop users, export finished images as JPEG or PNG, and keep your editable project in your own editor’s native format as a backup.
When in doubt, work on a copy of your photo, never the original. That single habit will save you from more mistakes than any feature ever will.
The Learning Curve, Honestly Assessed
Every editor claims to be easy, but “easy” depends on what you already know. Here is a realistic picture.
A simple browser editor takes minutes to learn. If you can use a smartphone photo app, you can use one of these. The ceiling is lower, but the floor is very low.
A mid-level editor takes a few hours of practice before it feels natural. Layers are the main new concept, and once they click, everything else follows. Most people reach comfort within a week of casual use.
A full-featured desktop editor takes weeks, not hours, to feel fluent. That sounds discouraging, but it is the same for Photoshop itself — professional tools are deep by nature. The good news is that you do not need to learn everything. Twenty percent of the features cover eighty percent of everyday editing, and you can ignore the rest until you need it.
Whatever you choose, learn by doing real projects rather than watching endless tutorials. Edit your own photos, make a poster for a friend, or redesign a social media banner. Real tasks teach faster than abstract lessons.
Common Beginner Mistakes to Avoid
First, do not over-edit. Beginners often push saturation and sharpness too far because the sliders are fun. Step back, compare with the original, and ask whether the edit actually improves the photo. Subtle edits usually look more professional than dramatic ones.
Second, save your work in stages. If your editor supports project files, save early and often, and keep a copy of the original photo untouched. Undo buttons help, but a saved project is real insurance.
Third, watch your export settings. An image that looks great on screen can look blurry when printed or uploaded, if it was exported too small or too compressed. For social media, follow the platform’s recommended sizes where possible. For print, use the highest quality your editor allows.
Finally, do not chase every new tool. It is tempting to install five editors and compare them forever. Pick one, use it for a month, and only switch if it genuinely blocks something you need to do.
A Practical Way to Choose
If you are still unsure, try this simple test. Pick one browser editor and one desktop editor, and give each the same small project: brighten a dark photo, remove a distracting object, add a text caption, and export it for social media.
Notice which one felt smoother. Did you get stuck finding a feature? Did the export look right? Did you enjoy using it, or did it feel like a chore? Enjoyment matters more than people admit — the tool you actually open is the tool you will improve with.
You can also ask what your friends or community use. Shared knowledge is underrated: if someone nearby uses the same editor, you have a ready-made tutor for the tricky parts.
Remember that switching later is not failure. Your editing skills transfer between tools far more than you might expect. Layers, selections, and colour adjustments work on the same principles everywhere, even when the buttons are in different places.
Final Thoughts
There is no single best free alternative to Photoshop for beginners, because beginners are not all the same. A casual editor who fixes phone photos needs something different from someone learning graphic design, and both are valid.
Start simple if you edit occasionally. Choose something with layers if you make graphics. Invest in a powerful desktop editor if you want to learn the craft properly. And whatever you choose, judge it by your own projects, not by someone else’s feature checklist.
Free tools have never been this capable. With a little practice, you can produce work you are proud of — without a subscription, and without feeling limited by the price tag.
Frequently Asked Questions
Is a free alternative to Photoshop for beginners really good enough for everyday editing?
Yes, for most everyday tasks. Cropping, brightness and colour adjustments, retouching, text overlays, and social media graphics are all well within the reach of free editors. You may notice differences on very advanced work, such as complex commercial retouching, but for personal projects, school work, and small business graphics, free tools are more than enough.
Do I need to install software, or can I edit in my browser?
Both options exist. Browser editors need no installation and work on almost any device, which makes them ideal for quick edits. Desktop editors need installing but run offline and usually handle larger files better. Many beginners start in the browser and move to a desktop editor later, when their projects grow.
Will free editors open Photoshop files?
Some can open PSD files, but compatibility is not perfect. Layers, text, and special effects may not transfer exactly. If you need to share work with Photoshop users, export finished images as JPEG or PNG, and keep your editable version in your editor’s own format.
Are free photo editors safe to use?
Reputable open-source editors and well-known browser tools are generally safe, but you should always download desktop software from its official website, not from third-party download portals that may bundle unwanted extras. For browser editors, check the privacy policy before uploading personal photos, and avoid uploading sensitive images to services you have not vetted.
Can I use free editors for commercial work?
In most cases, yes, but check the licence of the specific tool. Open-source editors generally allow commercial use, while some browser tools restrict commercial use in their free tier. If you plan to sell your work or use it for a business, read the terms of the tool you choose before you start.
How long does it take to learn a free photo editor?
A simple browser editor takes minutes. A mid-level editor with layers takes a few hours of practice to feel comfortable. A full-featured desktop editor takes weeks to learn well, but you only need a small set of features for most everyday edits. Learning through real projects is faster than studying every feature in advance.
Related Guides
- Free Alternative to Adobe Acrobat
- Free Alternative to Microsoft Publisher
- Free Alternative to Microsoft Visio



2 Comments