
AI Tools for Creating Captions from Video: A Practical Guide
If you have ever watched a video on mute, you already understand why captions matter. Many people scroll through social feeds with the sound off, watch tutorials in quiet rooms, or learn in a second language. Captions make video usable in all of those moments.
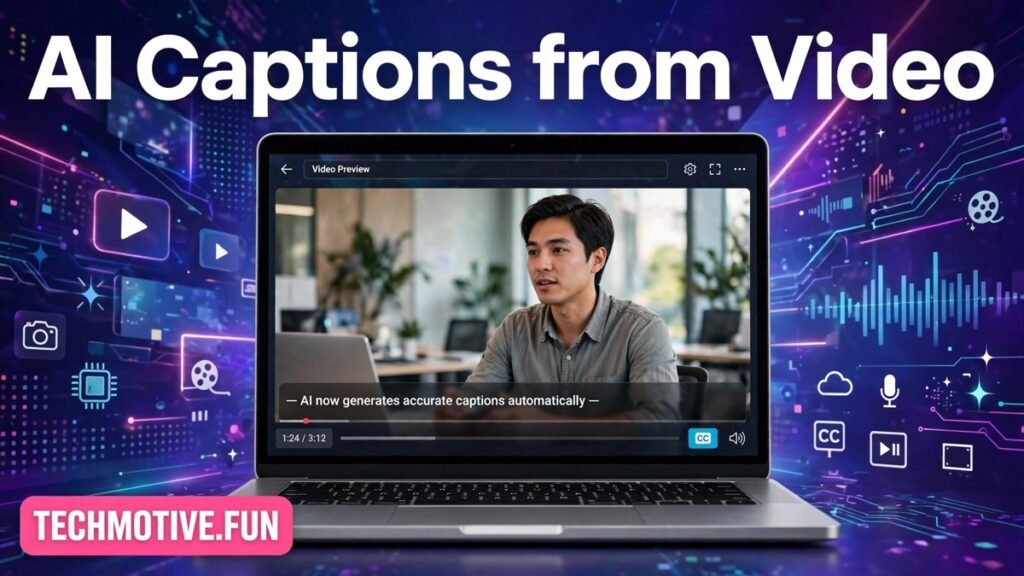
AI caption tools have made this job far easier than it used to be. Instead of typing every spoken word by hand, you can upload a video and get a timed transcript in minutes. That draft is rarely perfect, but it gives you a strong starting point.
This guide explains what ai tools for creating captions from video actually do, how to judge their quality, and how to turn a rough automatic transcript into captions you would be happy to publish. It is written for creators, teachers, small business owners, and anyone who makes videos without a production team.
What an AI Caption Tool Actually Does
At its core, an AI caption tool listens to the audio in your video and converts speech into text. It then splits that text into short caption blocks and times each block to match when the words are spoken.
Most tools follow the same basic flow. You upload a video or paste a link, the tool processes the audio, and it returns an editable transcript with timestamps. You review the text, fix mistakes, adjust timing or line breaks, and then export the finished captions.
Some tools work inside a video editor, so captions are created as part of the editing process. Others are standalone captioning apps or web services focused only on transcription. A few platforms, such as large video hosting sites, can also generate captions automatically after you upload.
The important thing to understand is that the AI produces a draft, not a finished product. Names, technical terms, brand names, and accented speech are common sources of errors. A short review pass is what separates usable captions from embarrassing ones.
Why Captions Are Worth the Extra Step
Captions are often treated as an optional extra. In practice, they change how many people can actually use your video.
First, they help viewers who are deaf or hard of hearing. Good captions describe the spoken content clearly, and the best ones also note important non-speech sounds where that matters for understanding.
Second, they help viewers who watch without sound. On phones especially, many people watch silently and rely on text to follow along. A video without captions can lose those viewers in the first few seconds.
Third, captions help comprehension. Viewers learning a new language, watching a fast speaker, or dealing with background noise can follow along more easily when they can read as well as listen.
Accuracy: How to Compare Tools Honestly
Accuracy is the first thing most people ask about, and it is also the hardest thing to compare fairly. A tool that works beautifully on a clear studio recording may struggle with a noisy street interview.
Instead of trusting a single percentage claim, test tools on your own kind of video. Use a short clip that represents your real work: your voice, your microphone, your typical background noise, and your usual vocabulary. Run the same clip through each tool you are considering and compare the results side by side.
Pay attention to the kinds of mistakes, not just the number of them. Small errors in common words are quick to fix. Repeated errors in names, product terms, or numbers take longer and can change the meaning. Also check punctuation and sentence breaks, because a transcript with no punctuation is much harder to read, even if the words are right.
Speaker separation matters too. If your videos feature interviews or conversations, a tool that can tell speakers apart will save you a lot of manual labelling. If you mostly record solo narration, this feature matters far less.
Audio quality has a bigger effect on accuracy than most people expect. A close microphone, a quiet room, and clear speech will improve results from any tool. If your recordings are noisy or echoey, fixing the audio first is often more effective than switching tools.
Languages, Accents, and Mixed Speech
Language support varies widely between tools. Many tools offer a long list of languages, but the quality is not equal across all of them. Support for widely spoken languages tends to be stronger, while less common languages may produce rougher drafts.
If you create videos in more than one language, check each language separately. A tool that handles your main language well may be much weaker in your second one. Also check whether the tool can detect the language automatically or whether you need to select it before processing.
Accents and dialects are another real-world test. A tool trained mostly on one accent may mishear words in another. Again, a short test with your own voice is more useful than a marketing claim.
Mixed-language speech is a known weak spot. If a speaker switches languages mid-sentence, many tools will struggle with the switch. In that case, plan for extra editing time, or consider captioning each language section carefully by hand.
Translation is a separate feature from transcription. Some tools can translate captions into other languages after generating them. Machine translation can be a useful starting point, but for published content it deserves the same review pass as the original transcript, especially for technical or sensitive topics.
Editing: Where Good Captions Are Really Made
Editing is where a rough transcript becomes good captions. Most tools provide a text editor alongside the video, so you can play a section, hear the original audio, and correct the text in place.
Start with a full read-through rather than fixing words one by one. Listen for sections where the meaning is wrong, not just the spelling. A misheard word that still looks plausible is easy to miss if you only skim.
Next, check timing and line breaks. Captions should appear when the words are spoken and disappear before the next idea starts. Very long lines are hard to read quickly, so most editors split captions into short blocks of one or two lines.
Also watch for speaker changes and pacing. In a fast conversation, captions need to keep up without flashing by too quickly. In a slow explanation, overly short captions can feel choppy. Aim for a steady, readable rhythm.
Finally, proofread the finished captions as a viewer would see them. Play the video from start to finish with the sound off and read only the captions. If you can follow the whole video that way, the captions are doing their job.
Export Formats: SRT, VTT, and Burned-In Captions
When your captions are ready, you need to get them out of the tool and into your video. The right format depends on where the video will be published.
SRT is the most widely supported caption file format. It is a simple text file containing numbered caption blocks, each with a start time, an end time, and the text. Most video platforms and editors accept SRT uploads, which makes it a safe default choice.
VTT, or WebVTT, is similar but designed for the web. It supports some extra styling and positioning options, and it is commonly used by web video players. If you are embedding video on your own website, VTT is often the natural fit.
Some platforms also let you upload captions directly, or they generate their own timed text when you publish. In those cases, you may not need a separate file at all, but keeping a copy of your SRT or VTT file is still wise for reuse elsewhere.
Burned-in captions, sometimes called open captions, are different. They are rendered permanently into the video picture itself, so viewers cannot turn them off. This is common for short social videos, where captions need to be visible even when the platform’s caption settings are off. The trade-off is flexibility: once burned in, the text cannot be edited or hidden, and it cannot be translated separately.
A practical approach is to keep an editable caption file as your master copy, and only burn captions in when a specific platform or format requires it. That way you can update, translate, or republish the same captions later without starting over.
Privacy: Think Before You Upload
Caption tools need your audio to work, which means your video or audio file is usually uploaded to a service for processing. For most public content, that is fine. For sensitive material, it deserves a pause.
Ask what happens to your file after processing. Many services describe their retention and deletion practices in their privacy or help pages. If you cannot find a clear answer, that itself is useful information.
Be extra careful with videos that contain private conversations, unreleased work, children’s voices, medical or legal discussions, or anything covered by a confidentiality agreement. In those cases, consider a tool that processes files locally on your device, or check whether the service offers stronger privacy controls before uploading.
Also remember that captions themselves can contain sensitive information. A transcript of a private meeting is still private, even if it looks like plain text. Store caption files with the same care you would give the original recording.
Free Tiers and Paid Plans: What to Check
Many caption tools offer a free tier, and many others are paid from the start. Free tiers are useful for testing, but they usually come with some kind of limit. The details differ from tool to tool, so read the current plan page rather than relying on an old review.
Common things to check include how much video you can process, whether exports carry a watermark, whether you can download caption files, and how long your projects are stored. A free tier that only lets you preview captions without exporting them may be fine for a test, but it will not help you publish.
For regular use, compare the cost against the time saved. If you publish videos often, a paid plan that removes limits and speeds up processing can pay for itself quickly. If you caption occasionally, a free tier or a pay-as-you-go option may be enough.
One more point: features and limits change over time. A plan that suited you last year may look different today. Before committing to a tool for an important project, re-check its current offering rather than assuming nothing has changed.
A Simple Workflow That Works
A reliable caption workflow does not need to be complicated. Here is one that works for most creators.
First, record the best audio you can. Use a close microphone, reduce background noise, and speak at a natural pace. Good audio saves more editing time than any feature.
Second, generate the automatic draft and let it sit briefly if you can. Coming back with fresh eyes makes mistakes easier to spot.
Third, edit in two passes: one for meaning and wording, and one for timing, line breaks, and readability. Playing the video with the sound off during the second pass is a simple and effective check.
Fourth, export a master caption file in SRT or VTT format and keep it with your project files. Upload or attach it wherever the video is published, and burn captions in only when the platform requires it.
Finally, spot-check the published video. Platforms sometimes reformat captions or apply their own timing, so a quick final view on the actual platform is worth the minute it takes.
Common Mistakes to Avoid
The most common mistake is publishing the automatic draft without review. Even a good draft will contain errors, and viewers notice them. A short review pass prevents most problems.
Another mistake is making captions too long or too fast. If viewers cannot read a caption before it disappears, it might as well not be there. Short blocks and sensible timing matter more than fitting every word into one caption.
A third mistake is ignoring names and terms. These are exactly the words tools get wrong most often, and they are also the words viewers care about. A quick check of names, places, product names, and numbers is time well spent.
Finally, do not forget the published check. Captions that look perfect in the editor can behave differently once uploaded, especially on social platforms. Always verify the live version.
Frequently Asked Questions
How accurate are AI-generated captions?
Accuracy depends on audio quality, the speaker’s clarity, background noise, and the language being spoken. Clear, well-recorded speech usually produces a strong draft, while noisy recordings or heavy accents produce more errors. In almost all cases, a human review pass is still needed before publishing.
Do I need to caption every video I make?
Captioning every video is the best practice, especially for public or educational content. At a minimum, prioritize videos that are meant to reach a wide audience, videos used for teaching, and any video where understanding the spoken words is essential.
What is the difference between captions and subtitles?
The terms are often used interchangeably, but there is a useful distinction. Captions are usually written for viewers who cannot hear the audio, so they include spoken words and sometimes important sounds. Subtitles are often translations of spoken dialogue for viewers who can hear but do not understand the language. Many videos benefit from both, depending on the audience.
Can AI tools handle multiple speakers?
Many tools offer speaker detection, which labels different voices in a transcript. This works best when speakers sound clearly different and take turns speaking. Overlapping speech, similar voices, or fast interruptions make separation harder, so interviews and panel discussions usually need extra editing.
Should I use SRT or burned-in captions?
Use an SRT or VTT file when the platform supports caption uploads, because viewers can turn captions on or off and the text stays editable. Use burned-in captions for short social videos where captions must be visible by default, keeping in mind that burned-in text cannot be turned off or easily changed later.
Is it safe to upload private videos to an AI caption tool?
It depends on the service and the content. For public videos, uploading is normally fine. For sensitive or confidential material, check the service’s privacy and retention practices first, and consider a tool that processes files locally on your device if you need stronger privacy.
Related Guides
- AI Tools for Converting Text to Speech
- AI Tools for Removing Background from Images
- AI Tools for Creating Presentation from PDF


One Comment